LYPUMSO
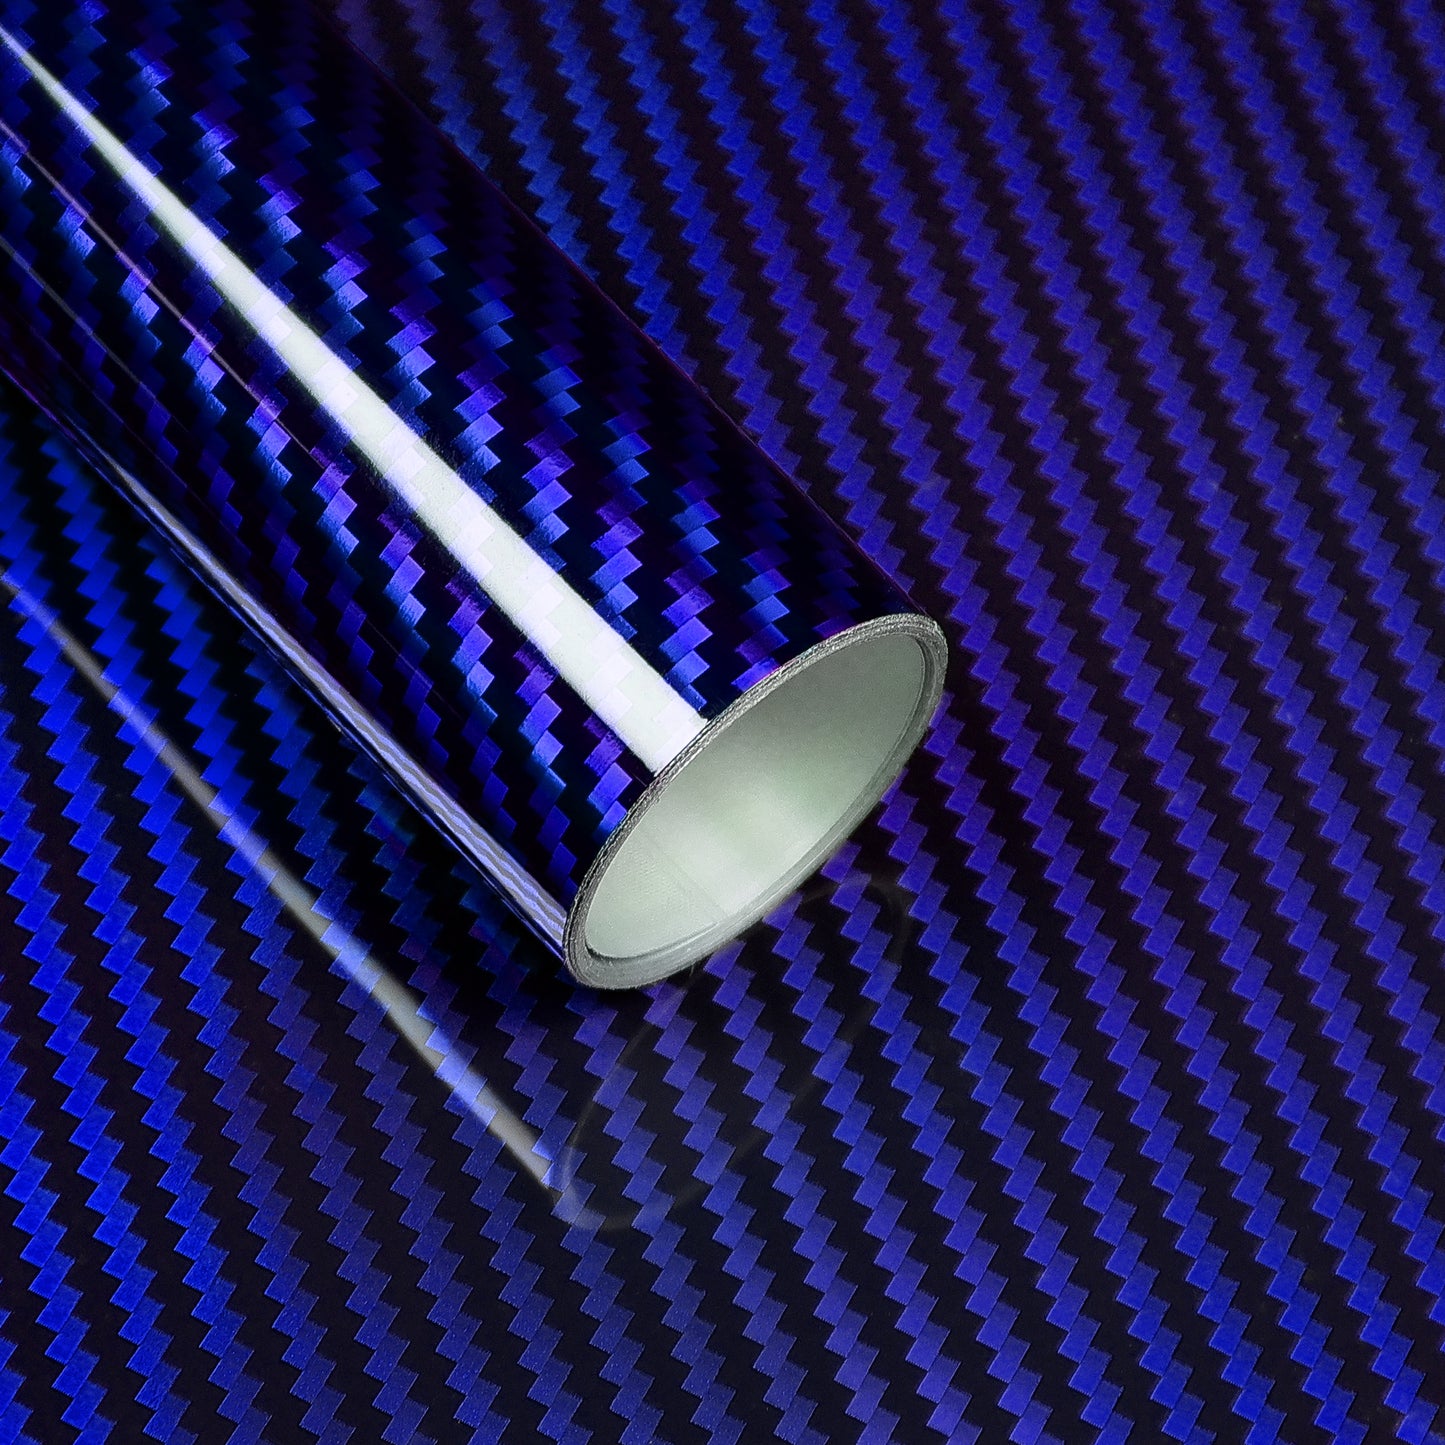
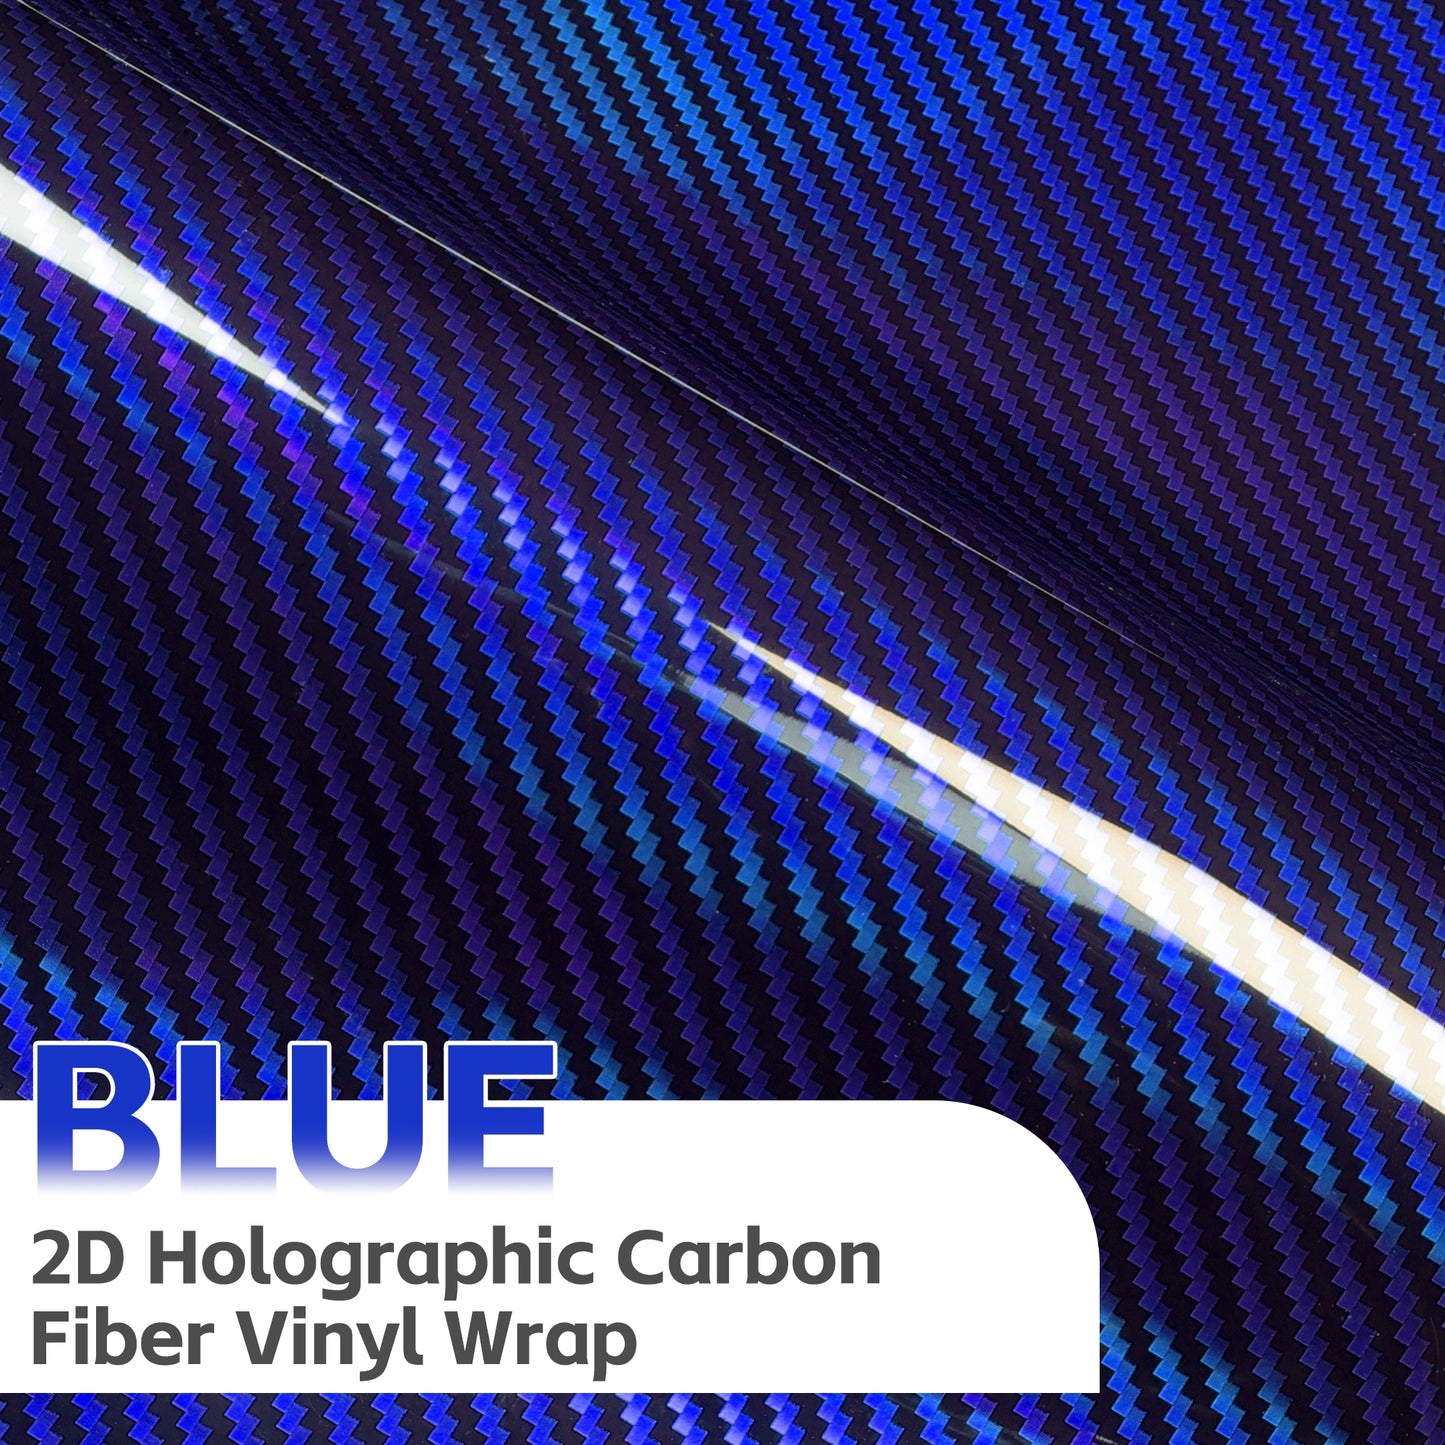
LYPUMSO® 2D Carbon Fiber Wrap + Rainbow Laser Look in Glossy Blue
LYPUMSO® 2D Carbon Fiber Wrap + Rainbow Laser Look in Glossy Blue
Couldn't load pickup availability
 30-Day Return
 Secure Checkout
 Customer Support


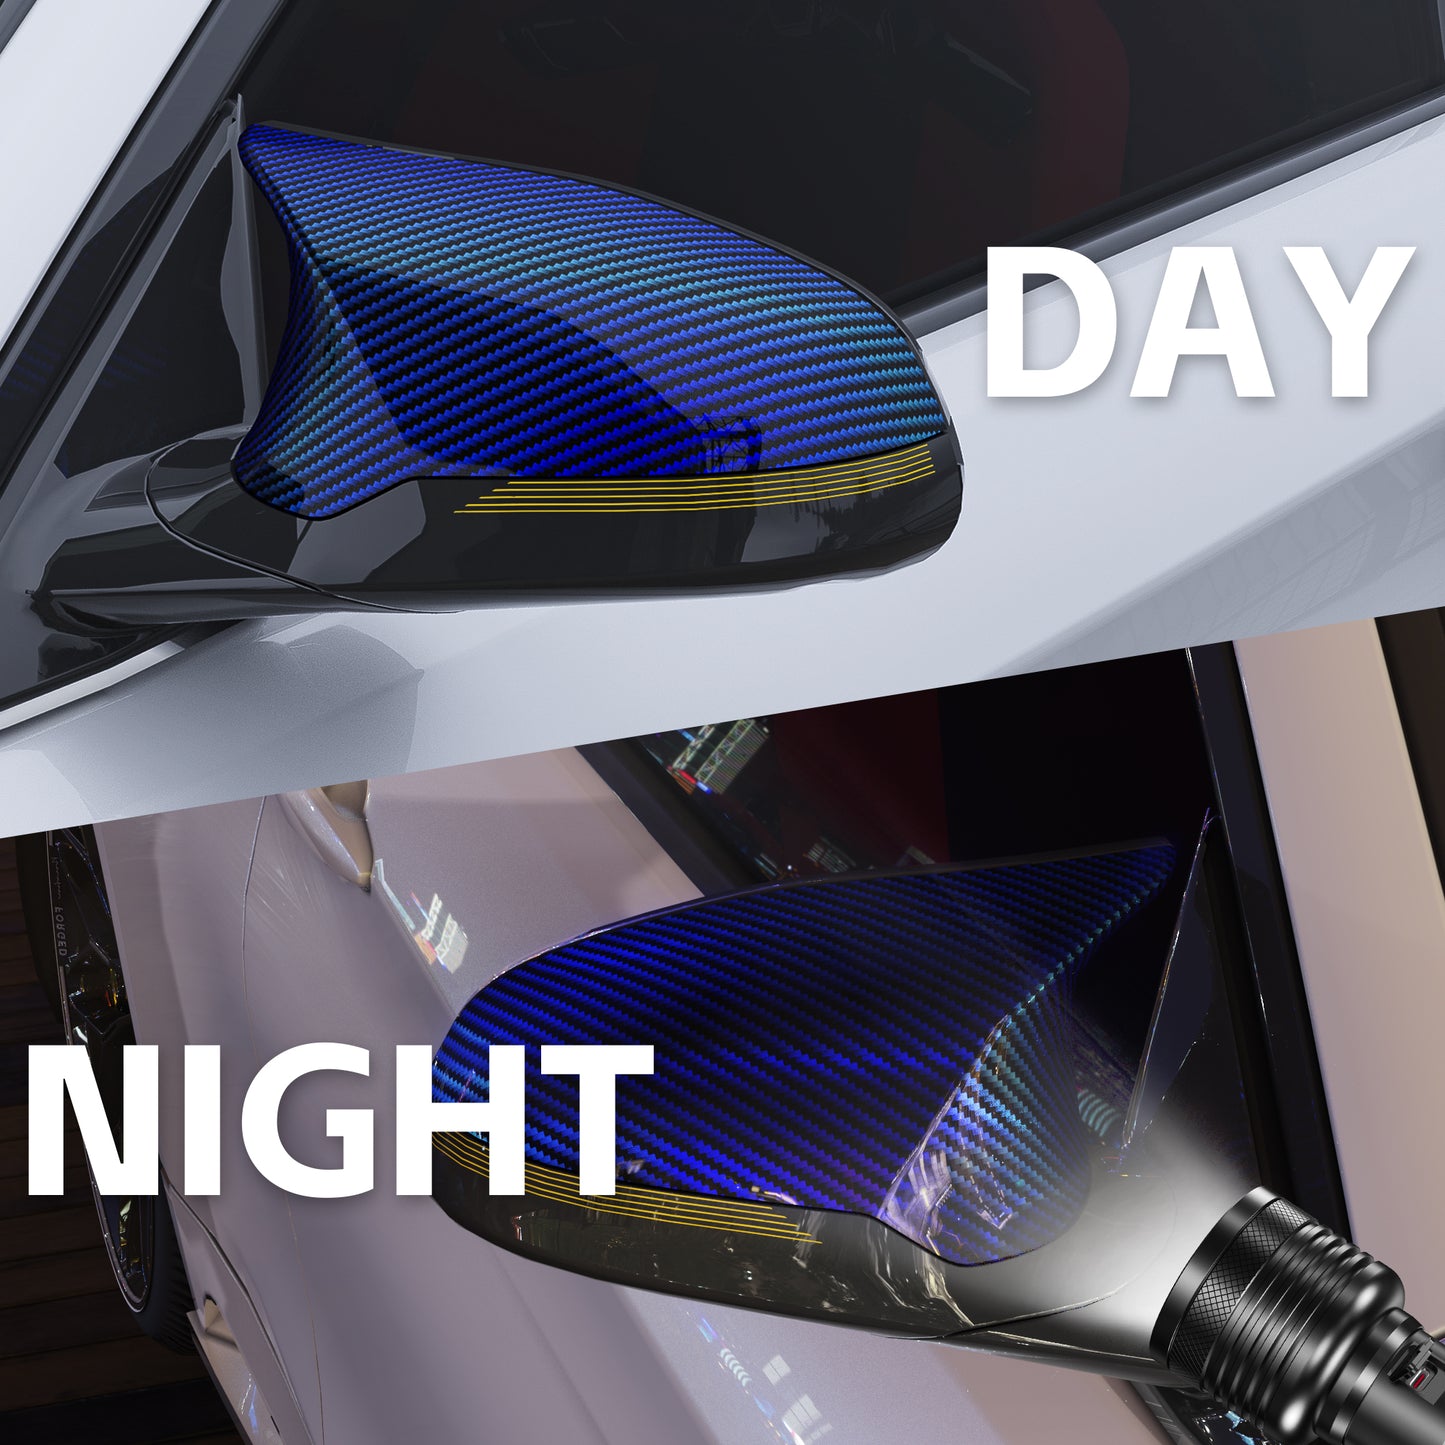
2D Glossy Carbon Fiber Meets Laser Rainbow

Cool Blue
The combination of cool blue and 2D Carbon Fiber vinyl wrap offers a sleek and modern aesthetic, providing a unique and eye-catching finish to any surface.
The cool blue adds a pop of color and vibrancy, while the 2D Carbon Fiber texture adds depth and dimension for a sophisticated look. Together, they create a stylish and high-quality appearance that is sure to turn heads and make a statement.

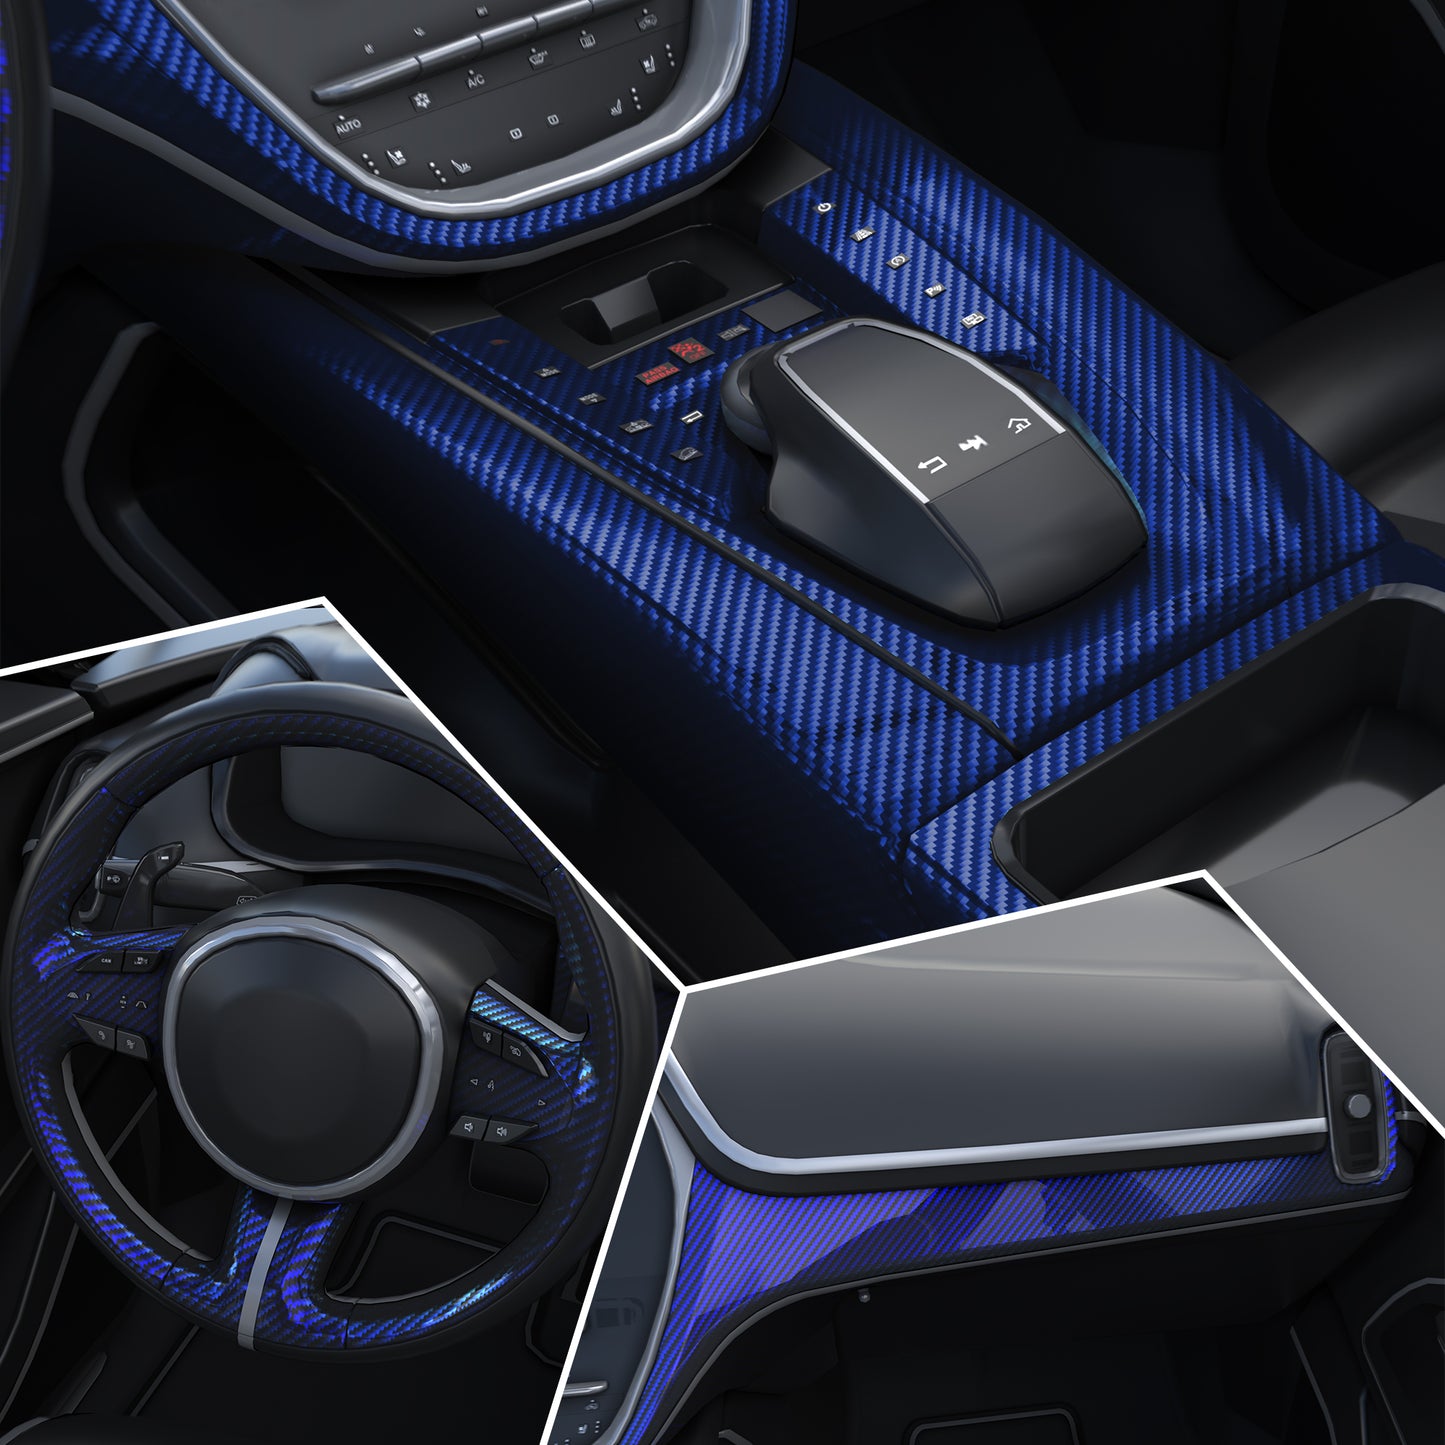
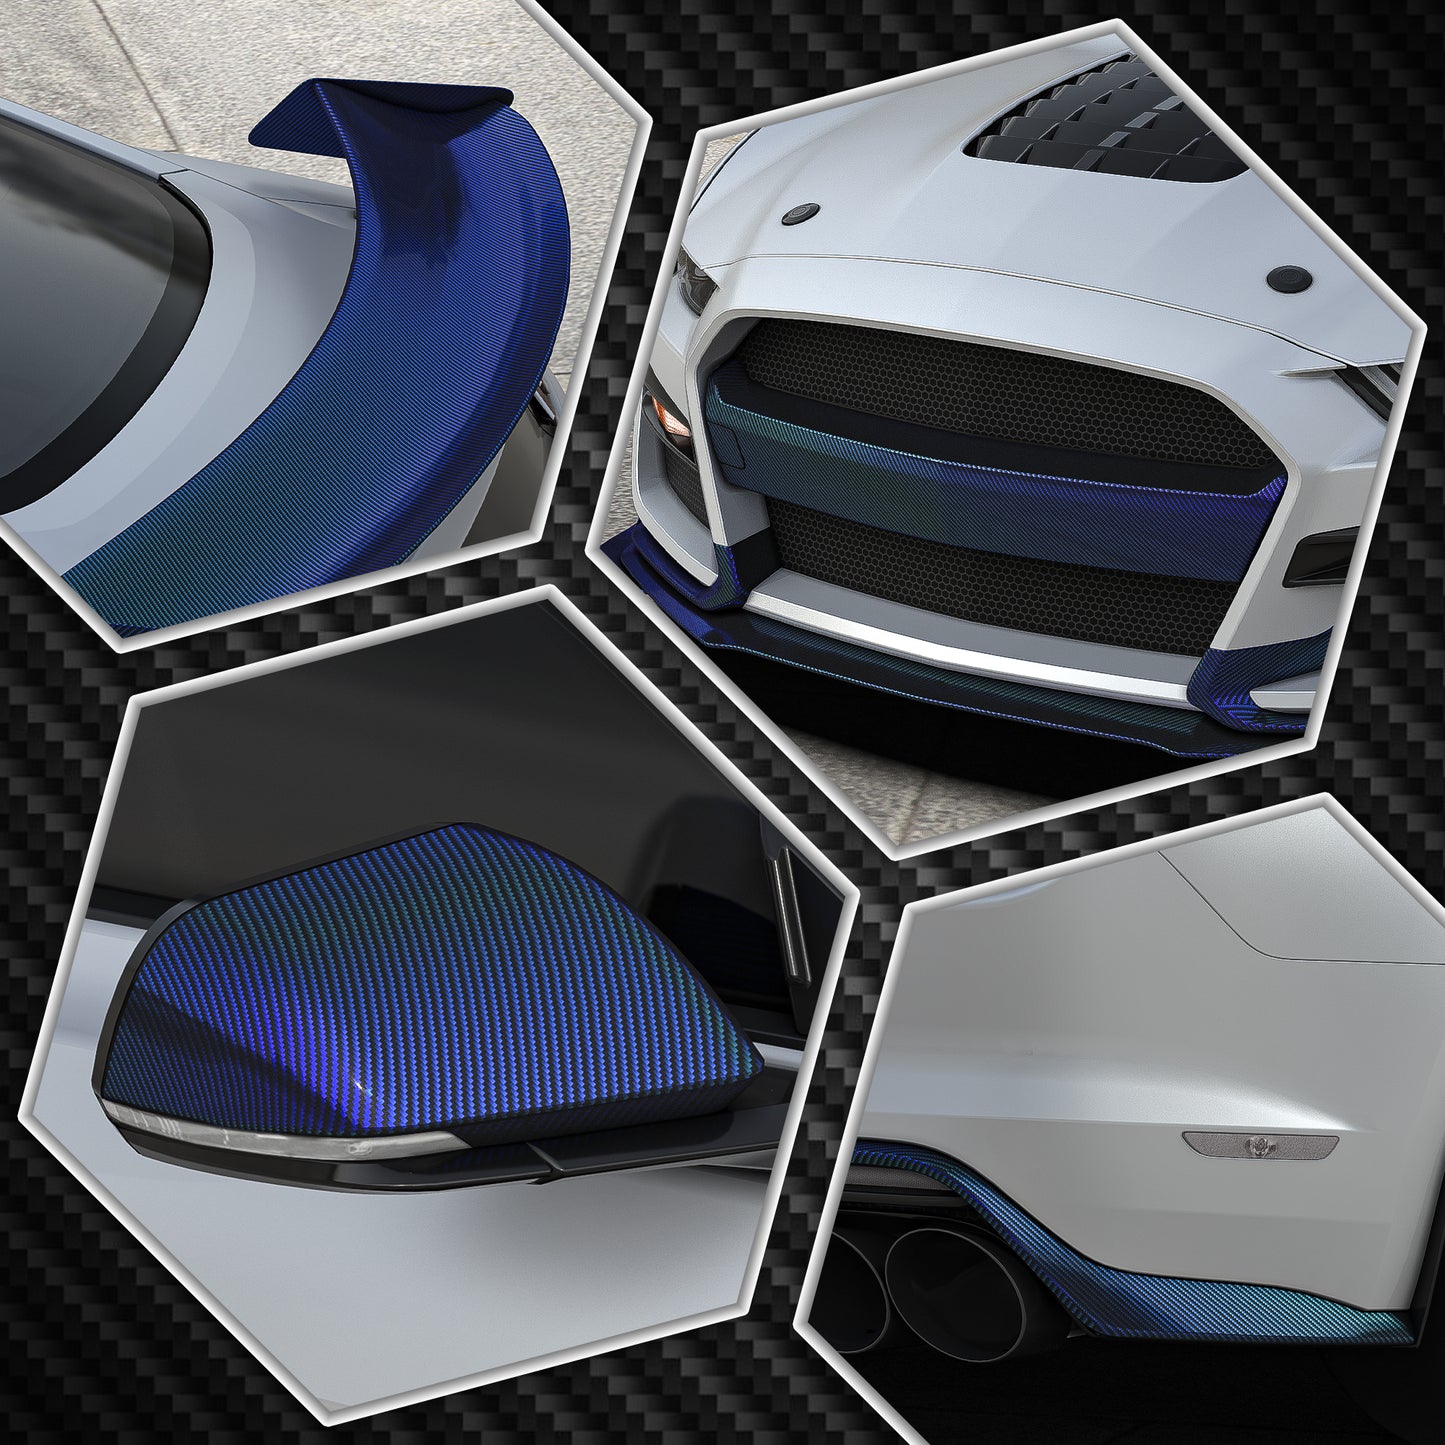
Using in any Occasions
Car Wrap/Craft Wrap/DIY Wrap/Decorative Wrap/Window Tint

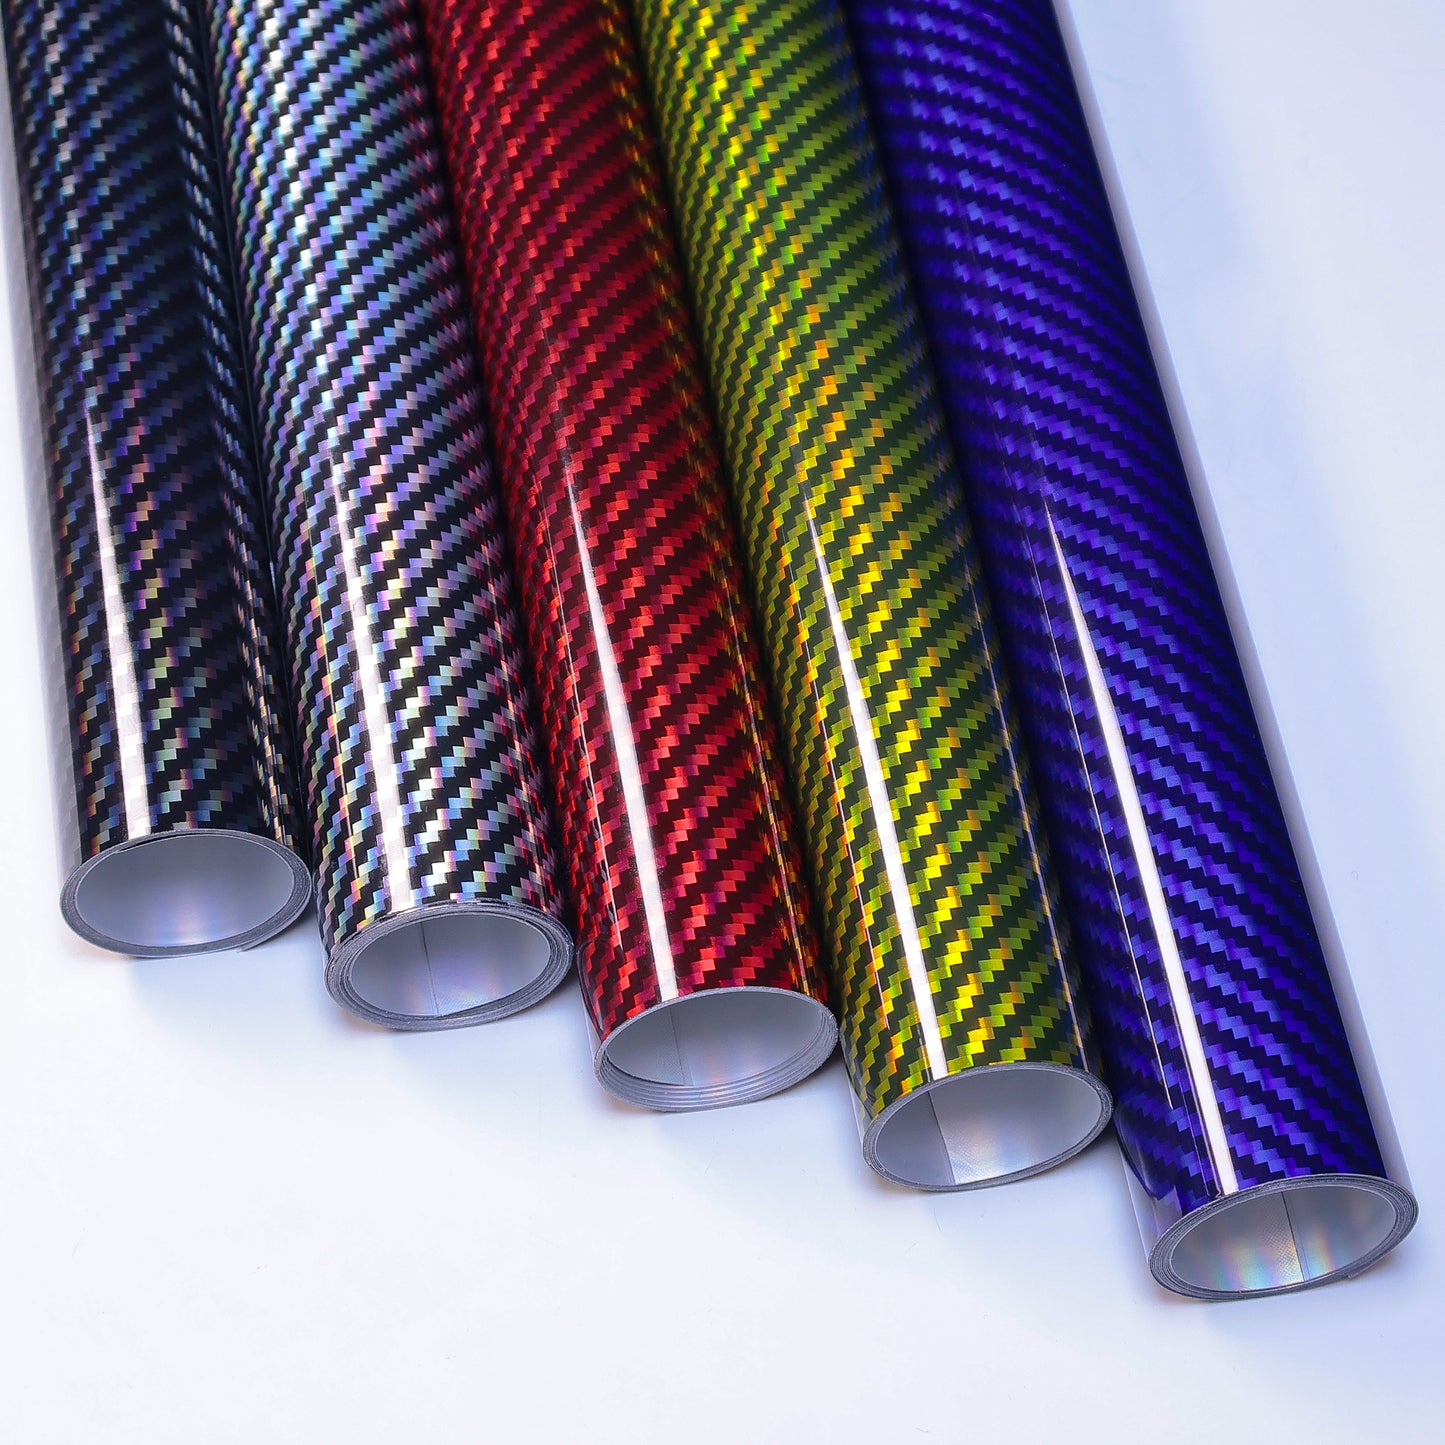
From bold reds to cool blues, from sleek blacks to radiant yellows, the possibilities are endless. Whether you want to express your individuality, upgrade your vehicle's look, or simply stand out from the crowd, our diverse range of colors has something for everyone.

1. Prepare the surface: Clean the car's exterior thoroughly to remove any dirt, grease, or wax. Make sure the surface is dry and smooth for optimum adhesion.
2. Measure and cut: Measure the dimensions of the area you want to wrap and cut the vinyl wrap accordingly, leaving extra material for trimming.
3. Apply heat: Warm the vinyl wrap with a heat gun or hairdryer to make it more pliable and easier to manipulate during installation.
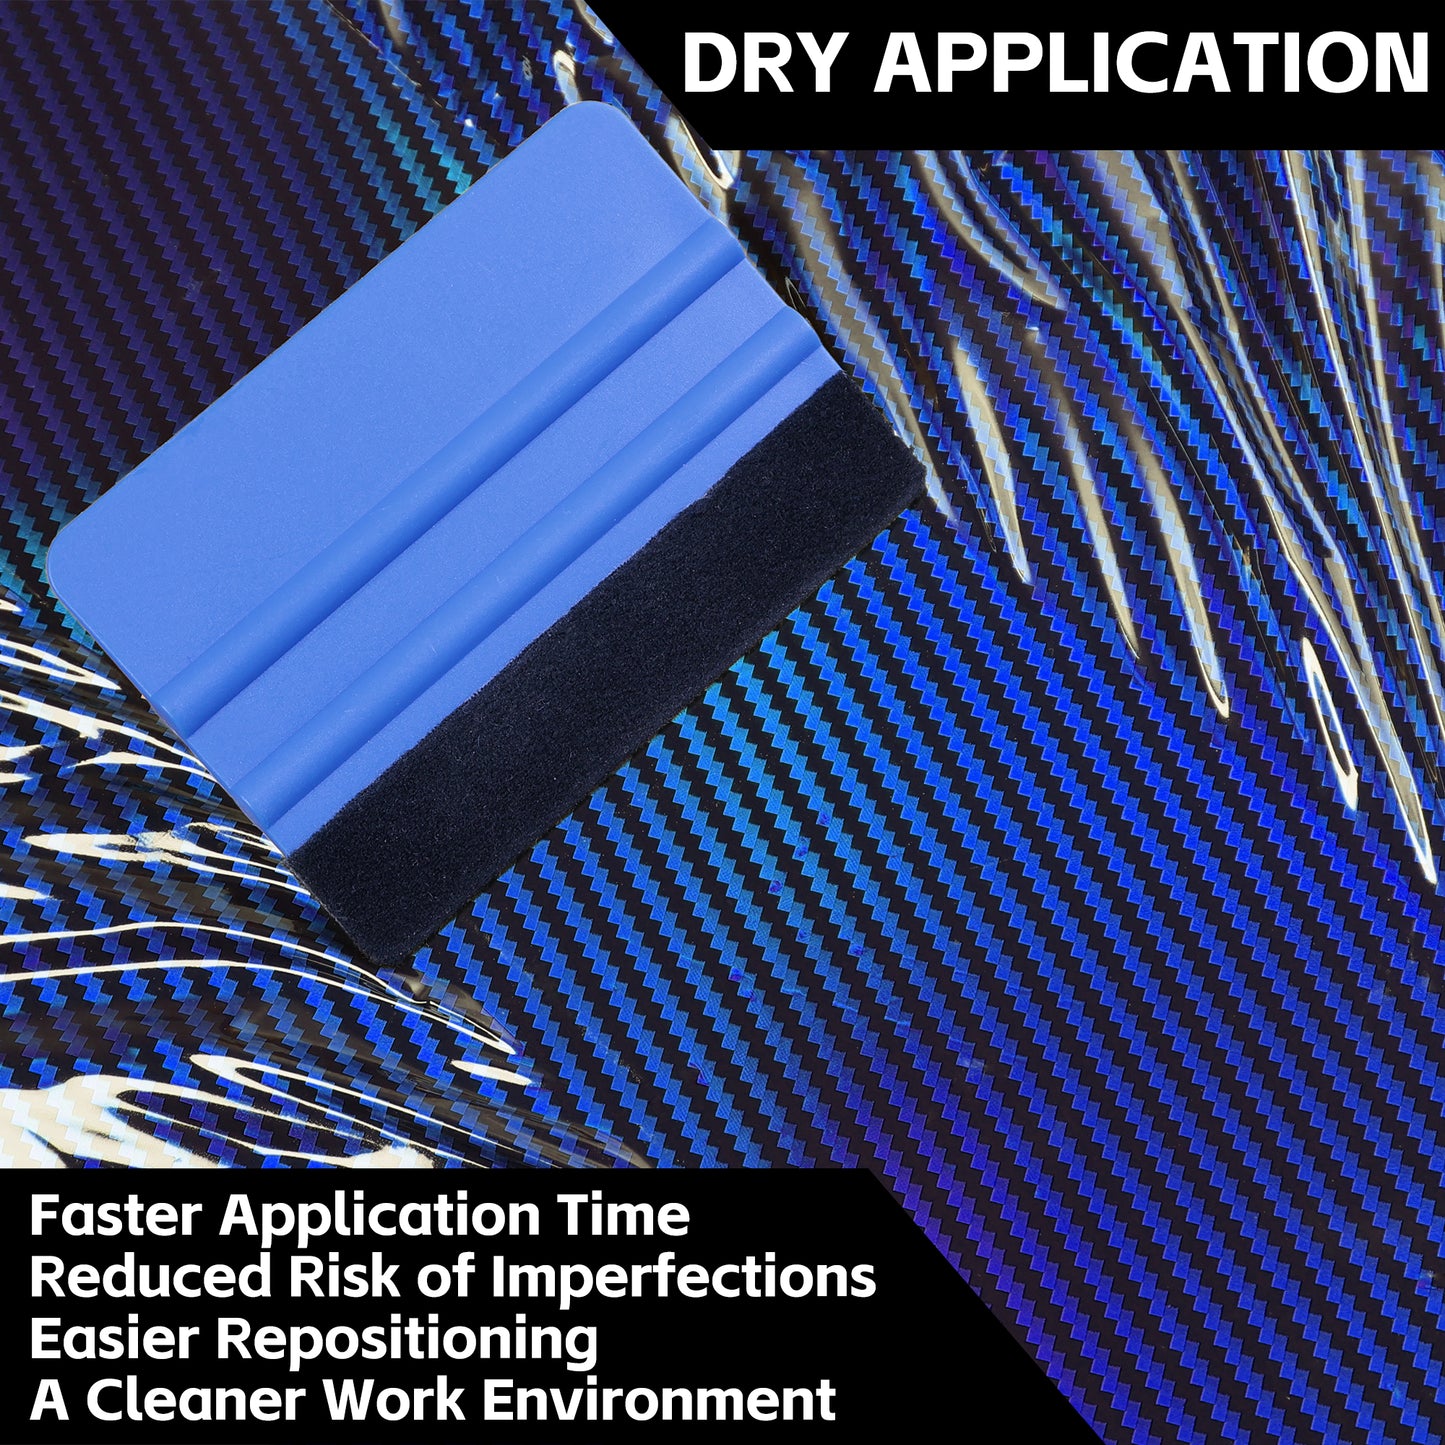
4. Peel and stick: Slowly peel off the backing paper from the vinyl wrap, ensuring the adhesive side does not touch anything before applying it to the desired surface. Start from one end and gradually press the wrap onto the car's surface, using a squeegee to remove air bubbles and ensure a smooth application.
5. Trim excess: Once the vinyl wrap is in place, trim any excess material using a sharp utility knife or blade. Take extra care around edges, curves, and contours for a precise and professional finish.
6. Heat and stretch: Use heat again to apply gentle and even heat to the vinyl wrap's surface, helping it conform to the shape of the car and removing any remaining wrinkles or bubbles.
7. Final touches: Once the wrap is fully installed, use the heat gun to heat the entire surface and activate the adhesive for better bonding. Then, use a cloth or microfiber towel to give it a final smooth and clean finish.